Setting up SAML2 SSO with Azure AD
Please contact us first if you wish to enable SSO, and then follow the simple procedure below.
Initial Configuration ⫘
- In Azure, select Azure Active Directory from the left side menu.
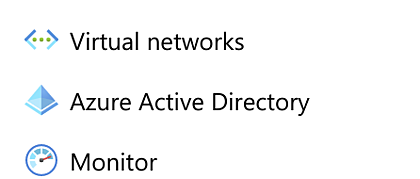
Azure Active Directory
- From the left pane, choose Enterprise Applications.
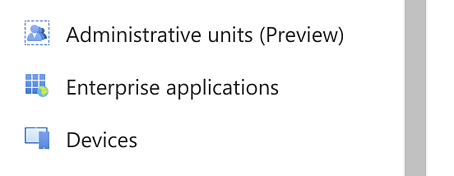
Enterprise Applications
- Choose Non-gallery application from the options.
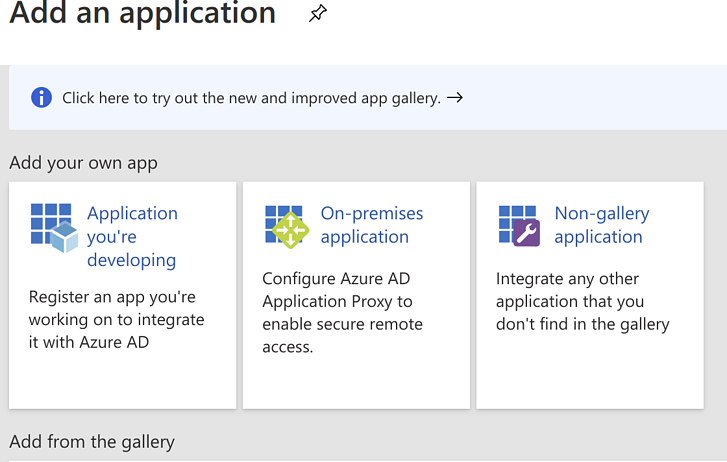
Non-gallery Application
- Enter any name you wish for the application; for this example we used VDR SSO.
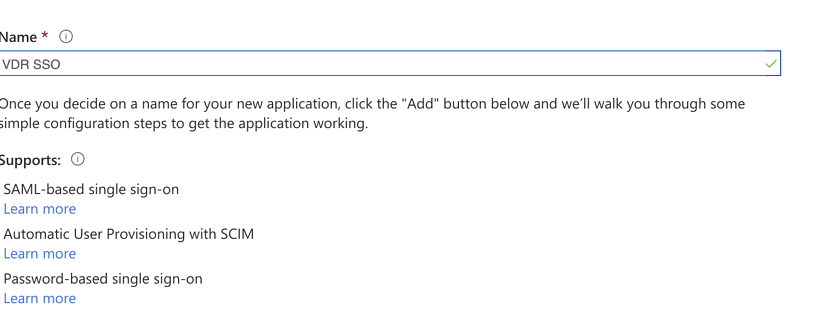
Application Name
- Select Assign users and groups. Add and assign at least one user that matches an existing account e-mail on Secureworks® Taegis™ VDR.
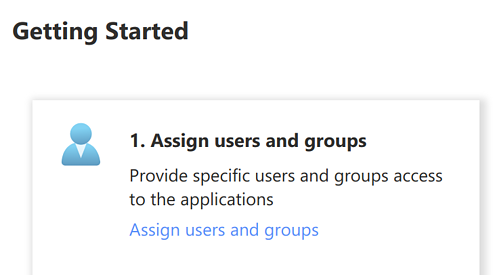
Assign Users and Groups
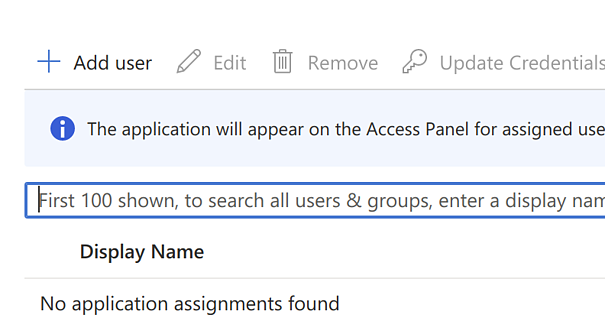
Assign at Least One User
SSO Setup ⫘
You can now set up the SSO. To do this, follow these steps:
- Select Set up single sign on in the application main page.

Set up SSO
- Choose the SAML option.
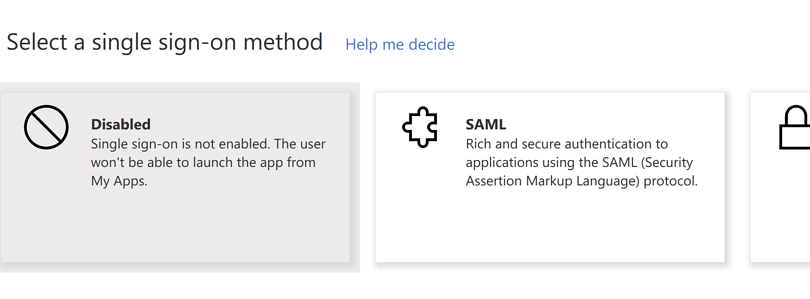
Choose SAML
- Enter the Entity ID and the Reply URL. The Reply URL will be provided by VDR.
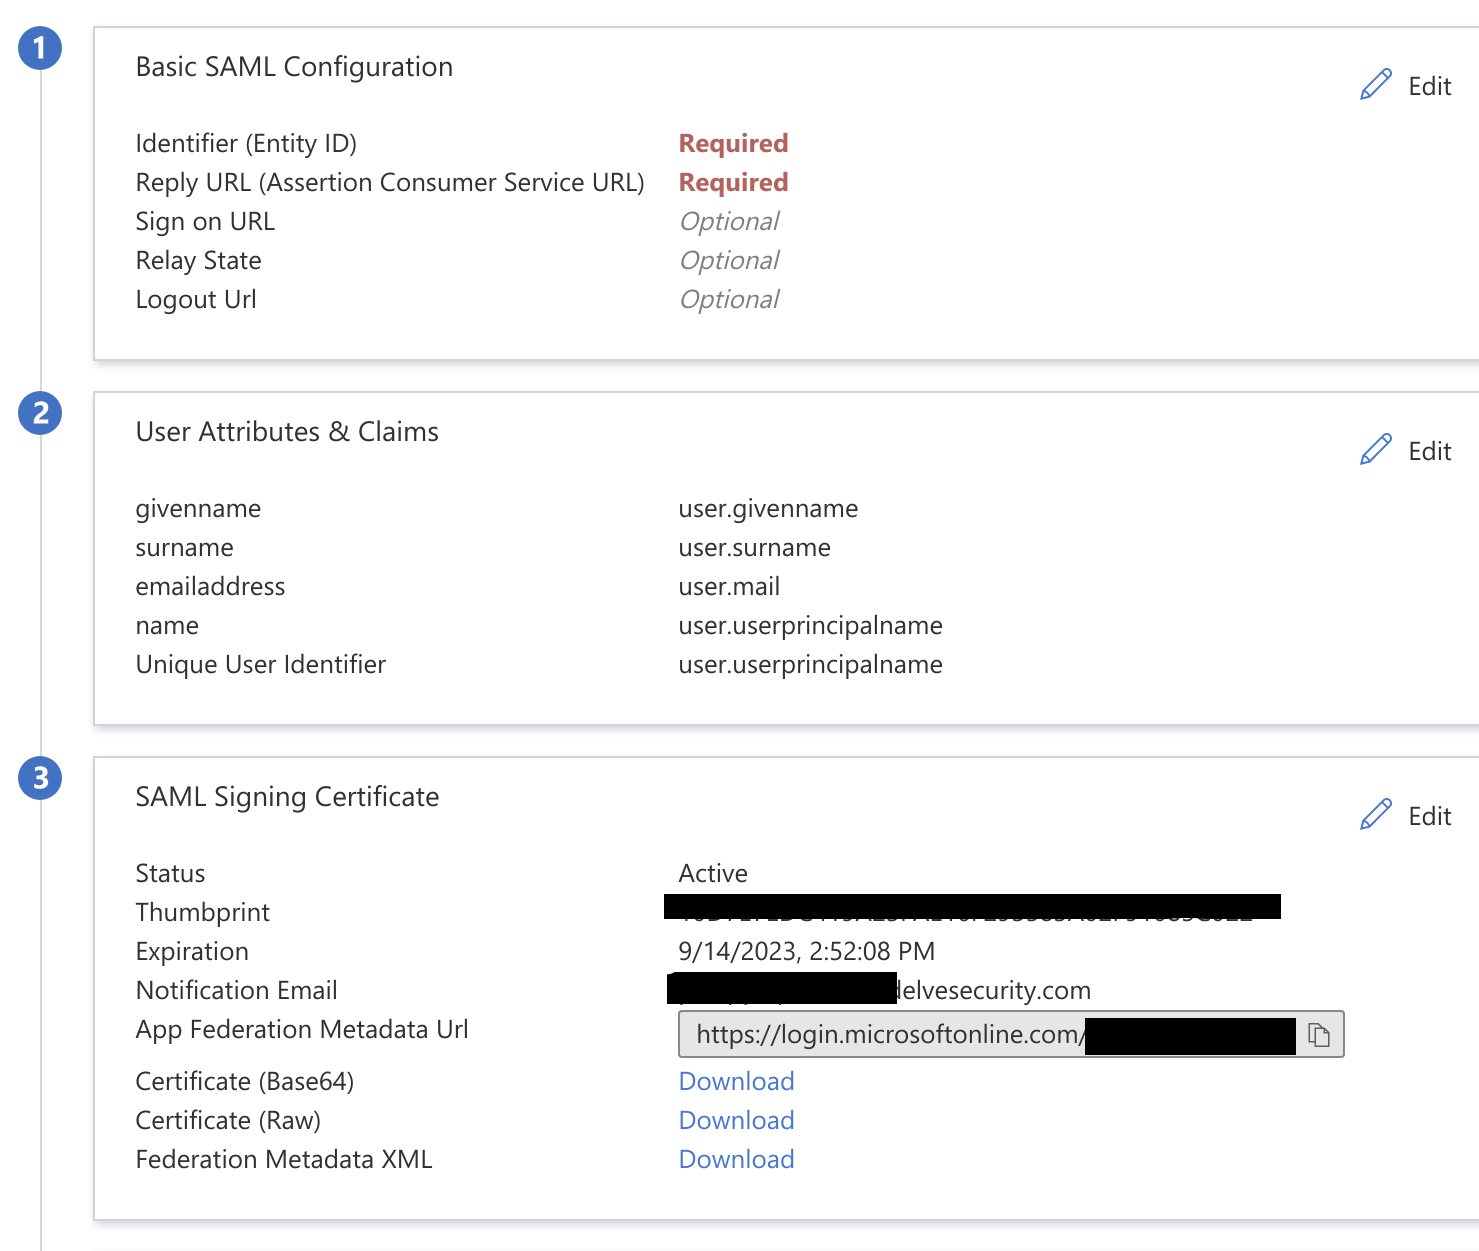
Configure SAML
- Our Support team will request the Metadata URL at the same time we provide you with the Reply URL; you can copy and send us the App Federation Metadata URL.
SSO Login ⫘
Once we give you confirmation that SSO is enabled on our end, you should be able to log in by accessing the VDR login page and switching to SAML, similar to the following screenshot:
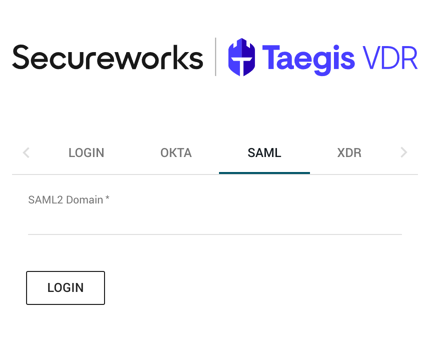
Log in via SSO
The Domain could vary based on your setup, but it is usually:
login.microsoftonline.com
